Transform Your Home with Durable, Low-Maintenance WPC Panels.
WPC (Wood Plastic Composite) panels are redefining modern home improvement, offering the timeless appeal of wood with the resilience of synthetic materials. Whether you’re a seasoned DIYer or a first-time renovator, this guide equips you with everything you need to install WPC panels like a pro. From initial prep work to those final polished touches, let’s dive into the process of transforming your space.
Why WPC Panels?
WPC panels aren’t just a trend—they’re a practical solution for today’s homes. Combining recycled wood fibers and plastic polymers, they resist moisture, pests, and wear while delivering the warmth of natural wood. Ideal for high-traffic areas, outdoor spaces, or moisture-prone rooms like bathrooms, WPC panels are as versatile as they are durable.
Top Reasons to Choose WPC
WPC panels offer the perfect combination of form and function.
Weatherproof Performance. Withstands rain, UV rays, and temperature swings.
Eco-Conscious Design. Up to 70% recycled content reduces landfill waste.
Effortless Upkeep. No staining, sealing, or sanding required.
Design Versatility. Available in wood grains, modern matte finishes, or stone textures.
Ok. We know that WPC cladding is a great option for glamming both existing spaces and new builds. So now let’s get started on your DIY installation.

Gear Up for Success
Before you begin, assemble your toolkit. Proper preparation prevents frustration mid-project and ensures smooth progress.
Tools you will need
- Measuring tape & carpenter’s pencil (for precise layout)
- Spirit level (to keep the panels plumb, that is, straight up and down)
- Circular saw or jigsaw with fine-tooth blades to minimise splintering
- Drill/driver (for screws or clip systems)
- Notched trowel (essential for adhesive installations)
- Caulking gun (to seal gaps)
- Safety gear (gloves, goggles, mask—safety first!)
Materials
- WPC panels (order 10–15% extra for cuts and errors)
- Mounting clips or stainless steel screws (rust-resistant for longevity)
- Construction adhesive (only for gluing down floors or walls if required)
- Plastic spacers (3mm between panels, 6mm at edges)
- Silicone sealant (colour-matched for invisible seams)
- Furring strips (to level uneven walls or floors)
Prep Like a Pro
A flawless installation starts with a clean, level surface. Rushing this step risks uneven panels or premature wear.
Clean the Surface
Walls. Scrub away dust, grease, or old paint with a degreaser. For outdoor surfaces, pressure-wash and let dry.
Floors. Vacuum debris and mop thoroughly. On decks, clear dirt trapped between boards.
Check for Moisture. Use a moisture meter on concrete subfloors. Levels above 4% require a vapour barrier.
Level the Playing Field
Identify dips or bumps with a one-metre spirit level. Fill gaps with exterior-grade filler or sand down protrusions. For uneven surfaces, install treated wood battens horizontally or vertically. Space them evenly apart, aligning with panel joints for secure fastening.
Plan the Layout
Dry-fit the panels to visualise spacing. Avoid ending up with narrow cuts at the edges by adjusting the starting point.
Stagger joints in a brick pattern for visual appeal and structural integrity.
Pro Tip: Mark studs or joists with painter’s tape to simplify screw placement later.
Measure Twice, Cut Once
Precision joints and neat cuts are key to ending up with a finished surface that looks perfect. Accurate cuts ensure seamless alignment and also minimise waste. Take your time here—it pays off in the final result.
Mark cutting lines
Use a carpenter’s pencil to mark measurements, factoring in expansion gaps. For outlets or pipes, trace the shape directly onto the panel.
Label each panel’s orientation (e.g., “Top,” “Left Wall”) to avoid confusion during installation.
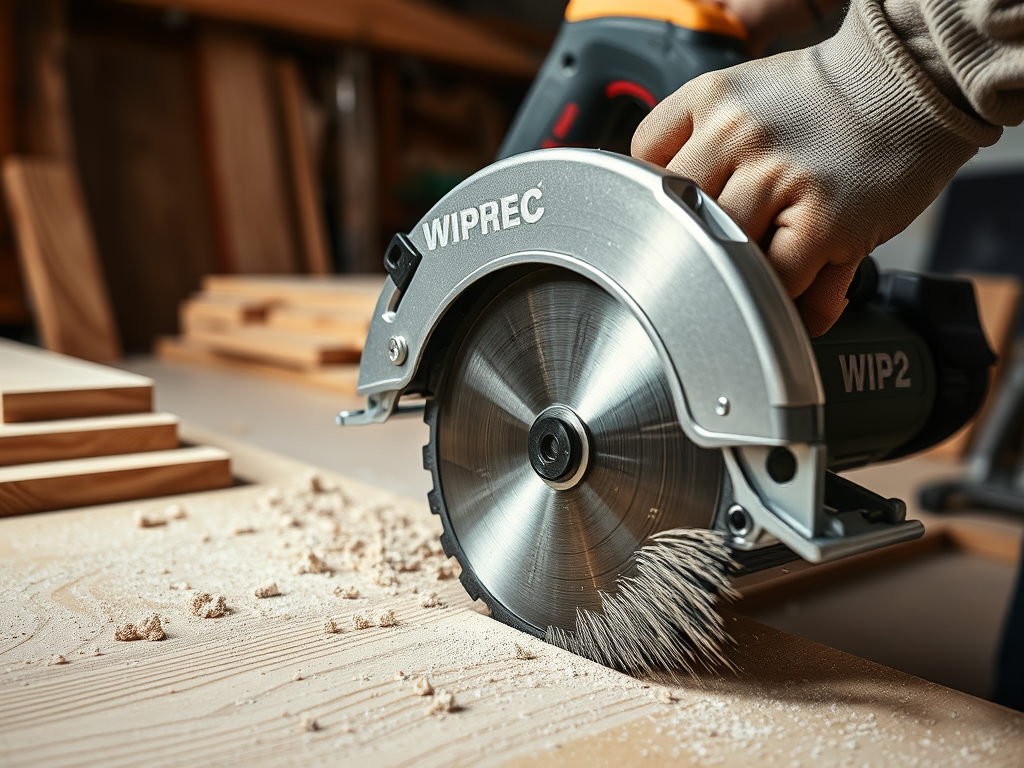
Cut panels safely
Secure panels on sawhorses with clamps to prevent shifting.
For straight cuts, using a circular saw with a 60-tooth blade will deliver clean, professional edges. For curves, switch to a jigsaw and a fine-tooth blade.
Lightly sand rough edges with 120-grit sandpaper for a snug fit.
Pro Tip: Before you begin cutting your sheets, cut a test piece from scrap material to confirm blade settings.
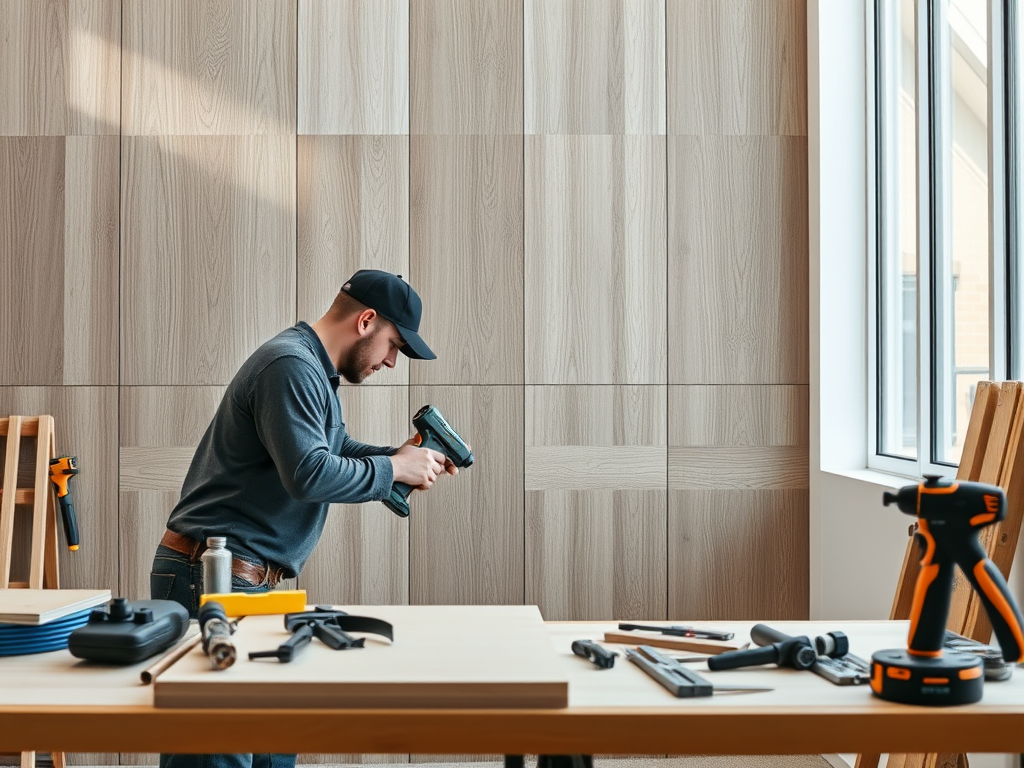
Install with Precision
This phase is where your prep work shines. Follow these steps methodically to avoid missteps.
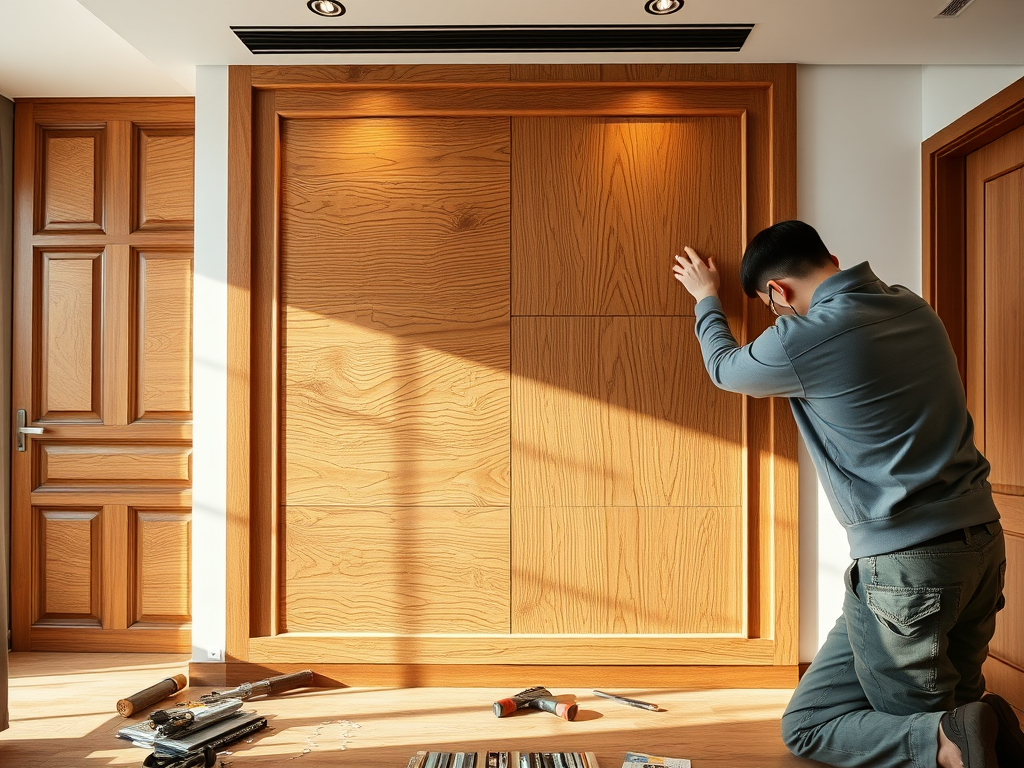
For walls
Start at the Bottom. Place the first panel in a corner, using 6mm spacers to maintain an expansion gap from the floor.
Verify vertical/horizontal alignment with a spirit level.
Secure Panels. Attach the mounting clips to battens or studs every 300-450mm. Snap panels into place, allowing room for thermal expansion.
If you are screwing the panels instead of using mounting clips, pre-drill holes at the panel edges or in the grooves. Drive stainless steel screws flush with the surface to prevent snagging.
Check Alignment Frequently. This is where you can really show off your DIY skills. Use your spirt level to check each sheet for plumb (ie that it is perfectly straight up and down). This is what professional installers do. Adjust clips or screws to correct drifting before installing the next sheet.
Pro Tip: Measure the distance from the edge of the last sheet you installed to the wall or corner where you will finish. It should be the same distance top and bottom.
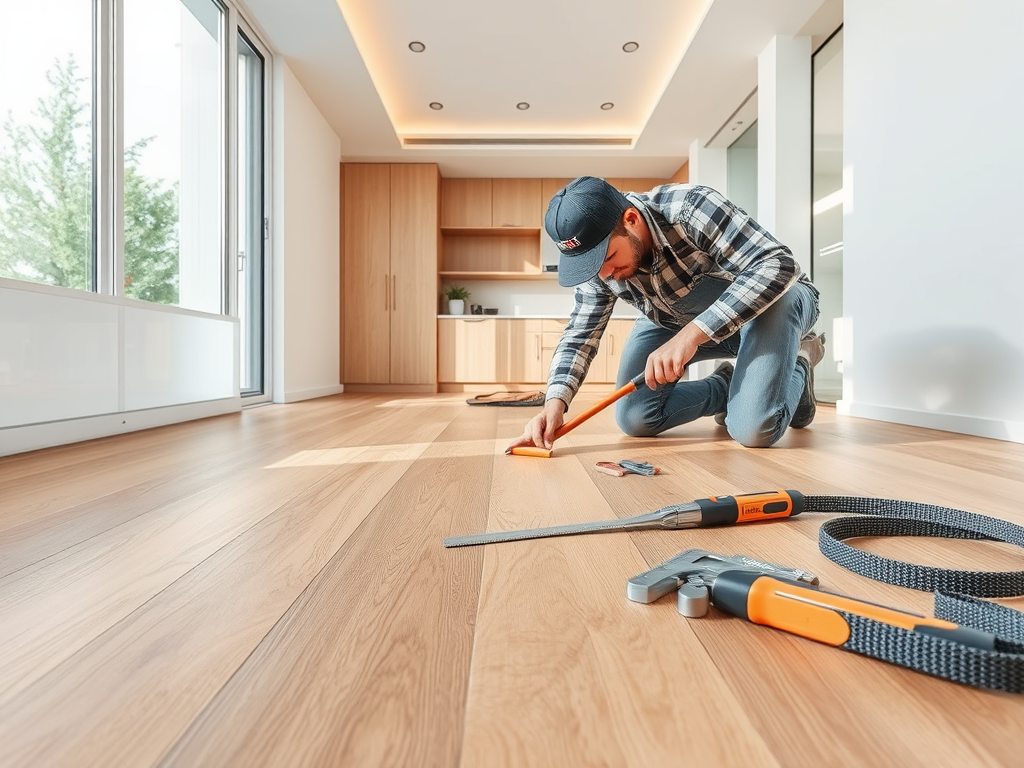
For floors
Install underlayment (Optional). Install foam underlayment for indoor floors to dampen noise, create a thermal barrier and add cushioning.
Begin in a corner. Position the first panel with spacers against the wall. Angle the tongue-and-groove edge downward and lock it into place.
Fasten panels. Secure the floor panels with hidden clips along panel edges for a seamless look.
Glue down. if you are using construction adhesive, apply it in zigzag patterns with a notched trowel. Press panels firmly and wipe excess adhesive immediately.
Pro Tip: Use a rubber mallet to gently tap panels into place without damaging the edges.
Polish with Flair
Now that you installation is complete its time to seal the deal with some professional finishing. These final touches will elevate your project from functional to flawless.
Apply Silicone Sealant
Run a bead of colour-matched silicone along edges, corners, and joints. Smooth with a caulk tool or damp finger for a clean finish.
In wet areas such as showers and around kitchen sinks, double-check sealant coverage to prevent water infiltration.
Install Trim and Mouldings
Cover the expansion gaps with WPC quarter-round or PVC trim. Secure with finishing nails or adhesive.
Add transition strips between rooms to bridge height differences and enhance safety.
Final Inspection
Remove spacers and inspect for loose panels, uneven gaps, or visible fasteners. Tighten screws or reapply adhesive as needed.
Maintenance for Longevity
WPC panels thrive with minimal care, but a little ongoing attention will ensure they provide decades of beauty.
Indoors. Wipe spills promptly with a damp cloth. Clean monthly with a mild detergent solution.
Outdoors. Sweep dust, leaves, vegetation and debris weekly. For stubborn stains, scrub with a soft brush and diluted vinegar.
Avoid. Abrasive cleaners, steel wool, or pressure washers, which can scratch or dull surfaces.
Common DIY Pitfalls to Avoid
Even seasoned DIYers can stumble. Keep these tips in mind to ensure your surface looks immaculate.
Skipping Expansion Gaps. Panels expand in the heat and contract in the cold. This can lead to warping of the surface over time. Always use spacers!
Overdriving Screws. Sinking screws too deeply can crack the panels. Always top when the head is flush.
Mismatched Sealant. White silicone on dark panels draws attention. Always colour-match the sealant you are using with the colour of the panels.
Enjoy Your DIY Masterpiece
Installing WPC panels is more than a home improvement project—it’s a testament to your DIY grit. From the meticulous prep work to the final stroke of sealant, you’ve created a space that’s both beautiful and built to last. Whether it’s a cozy indoor feature wall or a sun-soaked deck ready for summer barbecues, your efforts will pay off for years to come.
Ready to Share Your Success? Snap a photo of your transformed space and tag #WPCDIY—we’re cheering you on!